اژدها ما یا -زد براش

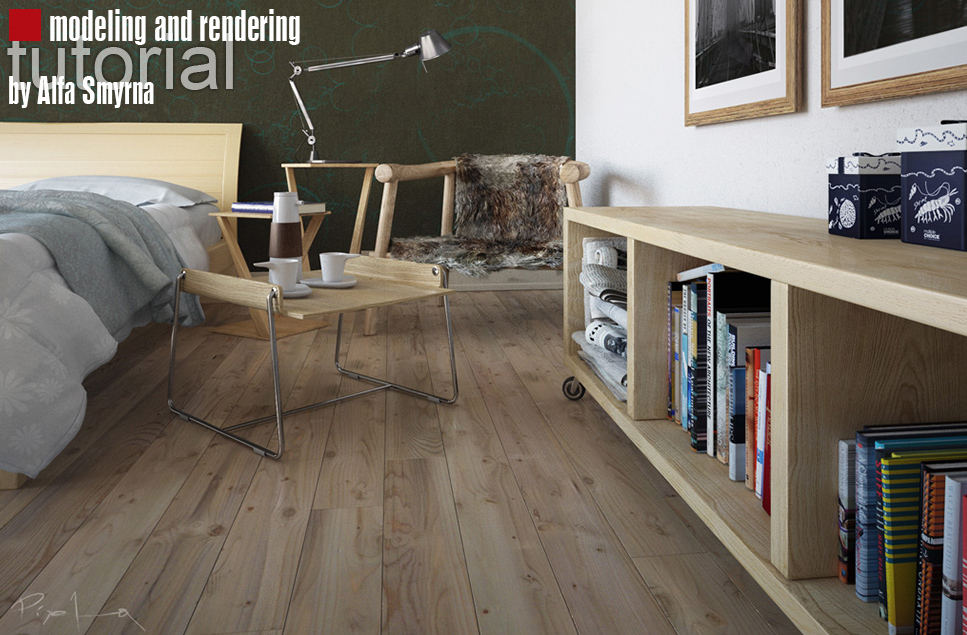
INTRODUCTION
This is a 3D cartoon illustration created in my space time for self
improvement.This dragon was originally designed by my favorite artist,
Ben Henry.
He is also known by his nickname, 'Roundeye', on the Internet
communities where he posts. The title of this work, 'Roundeye Dragon',
comes from his nickname.
I am very honored and grateful to have been given Ben's generous
permission to recreate his 2D drawing in 3D.
Before start anything, i was send a request about "permission to recreate 2D drawing in 3D" via email to Ben Henry. Then he was agree the permission. Thanks Ben.
Before start anything, i was send a request about "permission to recreate 2D drawing in 3D" via email to Ben Henry. Then he was agree the permission. Thanks Ben.
MODELING
Here is the original 2D drawing from Ben Henry

I start modeling in Zbrush, my technique was use Zsphere to created a base mesh. Later on export it into Maya to refine modeling and re-topology it.

Import into Zbrush again. To make sure i sulpt with the right portpotion, i never start from detail.

Reseach around from internet about dragon skin. Download them as refereces.

To get my own the reptile's alpha later use in Zbrush. I was import those references into Photoshop and made fews type of alpha.

This is what i got after sculpt by own made alpha

The final was done after wings, skin detail and teeths added

I start modeling in Zbrush, my technique was use Zsphere to created a base mesh. Later on export it into Maya to refine modeling and re-topology it.
Import into Zbrush again. To make sure i sulpt with the right portpotion, i never start from detail.
Reseach around from internet about dragon skin. Download them as refereces.
To get my own the reptile's alpha later use in Zbrush. I was import those references into Photoshop and made fews type of alpha.
This is what i got after sculpt by own made alpha
The final was done after wings, skin detail and teeths added
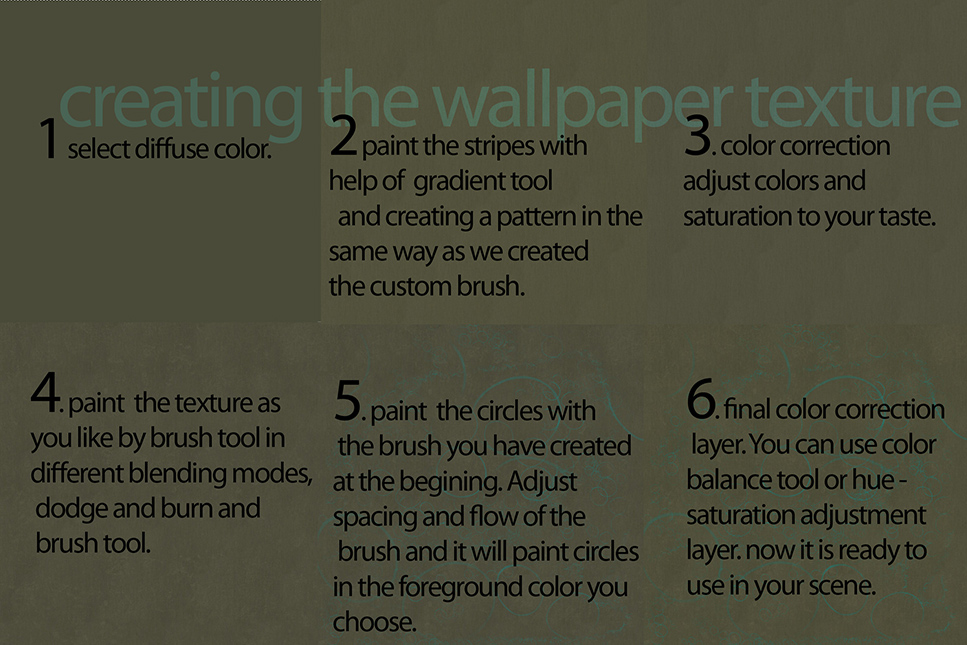
TEXTURING
The dragon's texture was done hand-painting in Zbrush.
My technique used called Polypainting in Zbrush. You need to click on the "colorize" & "Disable UV" before paint.

To get more information about polypainting. Here is link i prefer. By JC Cappelletti: http://www.jcappelletti.com/z3tut02/
I never plan to re-paint the texture in photoshop but in Zbrush. So i use Zbrush's Adaptile UVs unwrap for me. Here is the color map , cavity map and normal map export from Zbrush in Adaptile UVs mode.
MATTE PAINTING OF THE BACKGROUND
My background is a flat 2D matte painting and photomontage done in
Photoshop.Mountain and trees is copy & paste by few different of
photos.

To make it more cartoon illustration, I re-paint it to add more detail and also try to use photoshop's filter to change the color mood.

To make it more cartoon illustration, I re-paint it to add more detail and also try to use photoshop's filter to change the color mood.
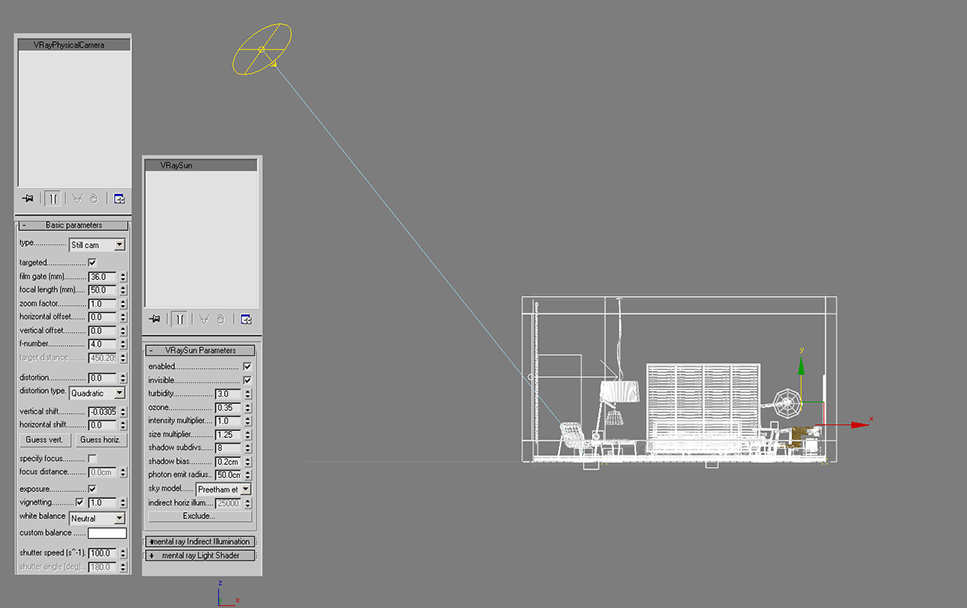
RENDERING & COMPOSITING OF DRAGON
I used mentalray's sss shader for the dragon.
My scene was light up by 3 area lights and one mentalray's IBL. Those lights are Main Light, Fill Light and Back Light. Mentalray's IBL are my scene's ambient light.

To convenient my compositing works. I was separate all the light passes ,cavity passes and specular passes. So that i can adjust the light opacity anytime to match the background.All passes was composite in Photoshop with "Screen" blending mode, except the Cavity passes with "ColorBurn" blending mode.

My scene was light up by 3 area lights and one mentalray's IBL. Those lights are Main Light, Fill Light and Back Light. Mentalray's IBL are my scene's ambient light.
To convenient my compositing works. I was separate all the light passes ,cavity passes and specular passes. So that i can adjust the light opacity anytime to match the background.All passes was composite in Photoshop with "Screen" blending mode, except the Cavity passes with "ColorBurn" blending mode.
FINAL

That's all. Thanks for watching, Enjoys!
Cheers~!
+ نوشته شده در دوشنبه یازدهم مهر ۱۳۹۰ ساعت 22:45 توسط واقفی
|